
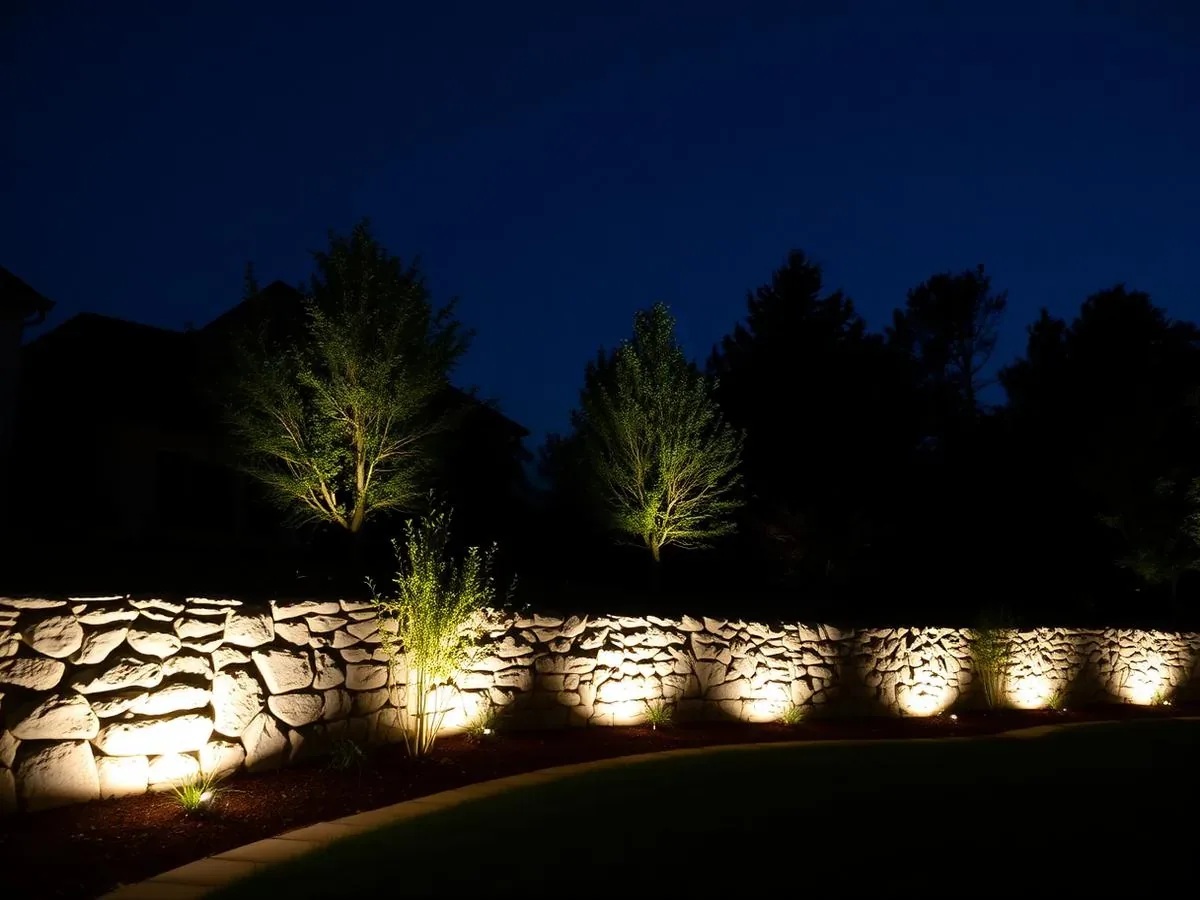
Good landscape lighting is almost invisible. You notice the stone wall, the old maple and the steps to the front door, not the fixtures. Bad lighting does the opposite: you see the lights, and everything else looks flat. The difference rarely comes down to budget. It comes down to where the light lands and what color it is.
We install low-voltage LED systems on timers and zones, then aim and set every fixture at dusk with you on site. If you’ve invested in a patio, wall or steps, the right lighting gives you hours more of them every evening.
What we install
Path lighting
Lights along walks, steps and driveways so people can see where they’re going. We avoid the “runway” look, a row of identical fixtures evenly spaced down both sides of a walk. Instead we light where the path turns, where there’s a step or a change in grade, and at the destination, and let pools of light overlap loosely. A walk doesn’t need to be evenly bright to be safe, just readable. Step lights set into risers or the sides of stairs are the safest and neatest way to light a grade change.
Uplighting
Fixtures aimed up into a specimen tree, across the face of the house or up a chimney. Light is only interesting when it lands on something, so we start with what deserves attention after dark and leave the rest in shadow. Contrast is what gives a yard depth at night.
Wall washing
Masonry takes light beautifully when it’s lit correctly. A fixture set close to the base of a stone wall or chimney and aimed straight up grazes the face and catches every edge and shadow in the stone. Low-profile hardscape lights tucked under the cap of a seat wall or retaining wall wash the face in soft light with no visible fixture.
Timers and zones
A quality low-voltage transformer with a photocell or astronomic timer turns the system on at dusk and off when you choose, without anyone remembering to flip a switch. Splitting the system into zones lets you run the path lights all night and the patio and trees only when you’re outside.
Mistakes we design out
- Cool white bulbs. We use warm white, generally 2700K to 3000K, which brings out the color in fieldstone, bluestone and brick.
- Glare. If you can see the bare bulb from the patio or the street, the lighting is working against you. Shielded fixtures, careful aiming and fixtures tucked behind plants or stones keep the light where it belongs and out of the neighbor’s bedroom.
- Lights aimed at nothing. Every fixture should land on something worth seeing.
- Uneven voltage. The system is wired so each fixture gets even voltage, and the far ones aren’t dimmer than the near ones.
- Surface wiring. Cable laid on top of the ground gets cut by edgers and aerators. It should be buried properly, with room planned for plants to grow.
The full list, with examples, is in landscape lighting mistakes that make a yard look cheap.
Fixtures that last in Connecticut
Plastic fixtures from big-box kits crack, fade and fill with water within a few Connecticut winters, and salt air near the Sound speeds that up. Solid brass or copper fixtures weather to a natural patina and last for decades. Lighting fixtures carry the manufacturer’s warranty on top of our workmanship.
Looking after your lights
Shovels and plows knock fixtures over every winter. In spring, walk the lighting after dark, straighten anything leaning, clean the lenses, replace dead lamps, and check that the timer adjusted for daylight saving time. Our spring checklist covers it with the rest of the yard.
How a lighting job runs
A foreman walks the property with you and talks through what you want to see at night. You get one fixed written proposal, usually within 3 business days. We install the system, then come back at dusk to aim and set it with you.
Lighting works best planned with the stonework. If you’re building a patio or walk, a seat or retaining wall or an outdoor kitchen, we can run cable and set hardscape lights during construction instead of digging in afterwards.